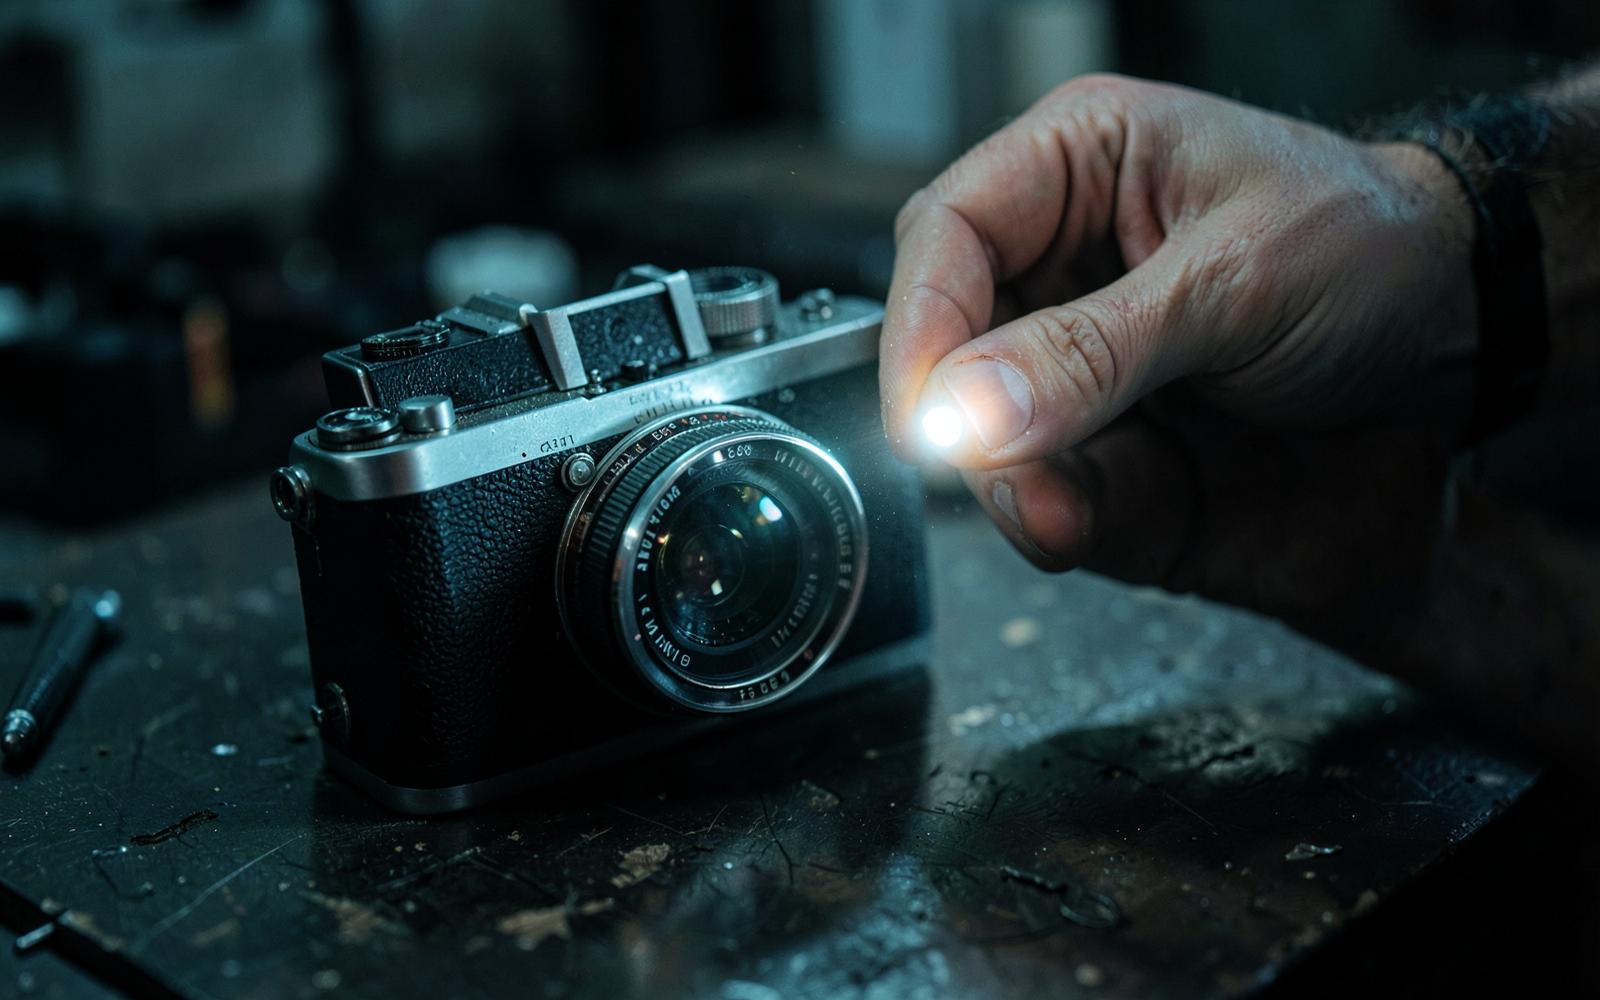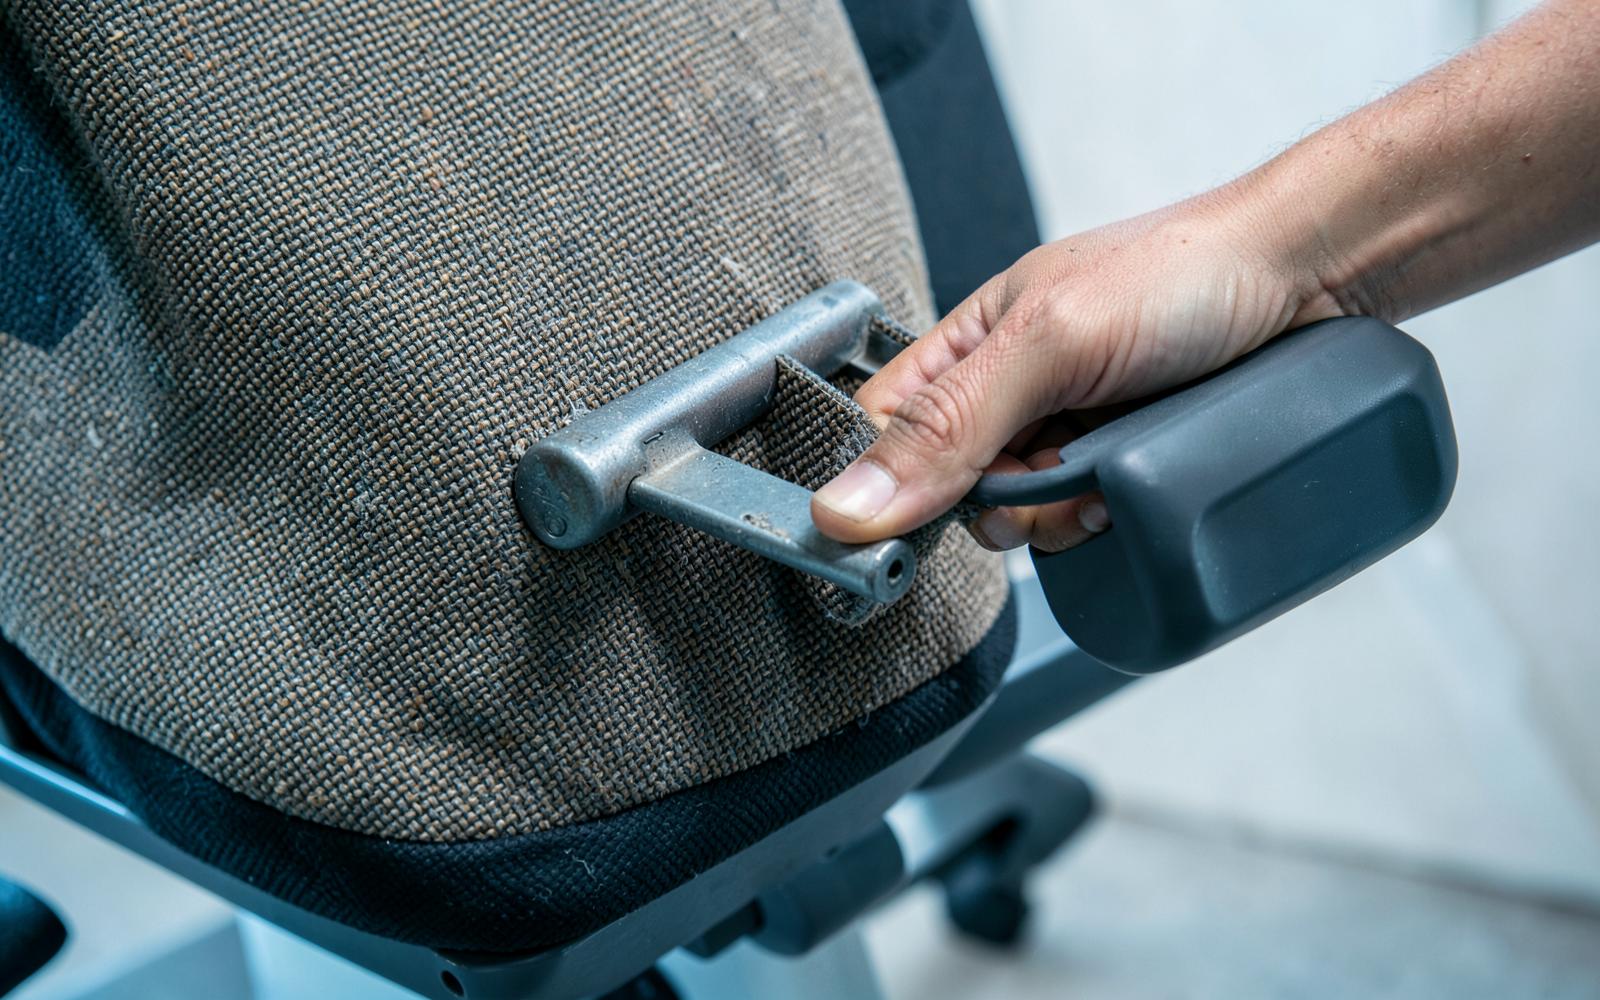
The most useful scan is not the one that sounds certain. It is the one that helps you notice evidence, expose uncertainty, and decide what to inspect next.
Observation
Build coverage, not just a beautiful photo
A listing-style image is designed to present an object. An inspection set is designed to reveal it. Photograph the full item, then the underside, joints, cables, controls, labels, and any repaired or unusually worn area.
Scan the complete view first, then use the detail images to question specific findings.
Observation
Ask for a category-specific checklist
For furniture, the useful clues may be joints, wobble, veneer loss, odor, and replacement hardware. For a lamp, cable condition, plug type, socket, shade fittings, stability, and local electrical requirements matter more.
Turn unresolved checks into tasks before purchase. The result is a short field list you can actually use while standing beside the object.
Observation
Know what the image cannot settle
A photograph cannot confirm internal condition, electrical safety, authenticity, legal ownership, odor, structural integrity, or whether a mechanism works through its full range.
Use the scan to identify what needs demonstration, documentation, or professional review. It supports the decision; it does not certify the item.
What to remember
- Capture front, back, underside, and labels.
- Separate cosmetic wear from functional risk.
- Do not infer authenticity or safety from appearance alone.
Try this scan
Bring the question to your own image.
“Build a visual inspection checklist for this item before I decide whether to buy it.”Open scanner