The most useful scan is not the one that sounds certain. It is the one that helps you notice evidence, expose uncertainty, and decide what to inspect next.
Observation
Start wide enough to preserve context
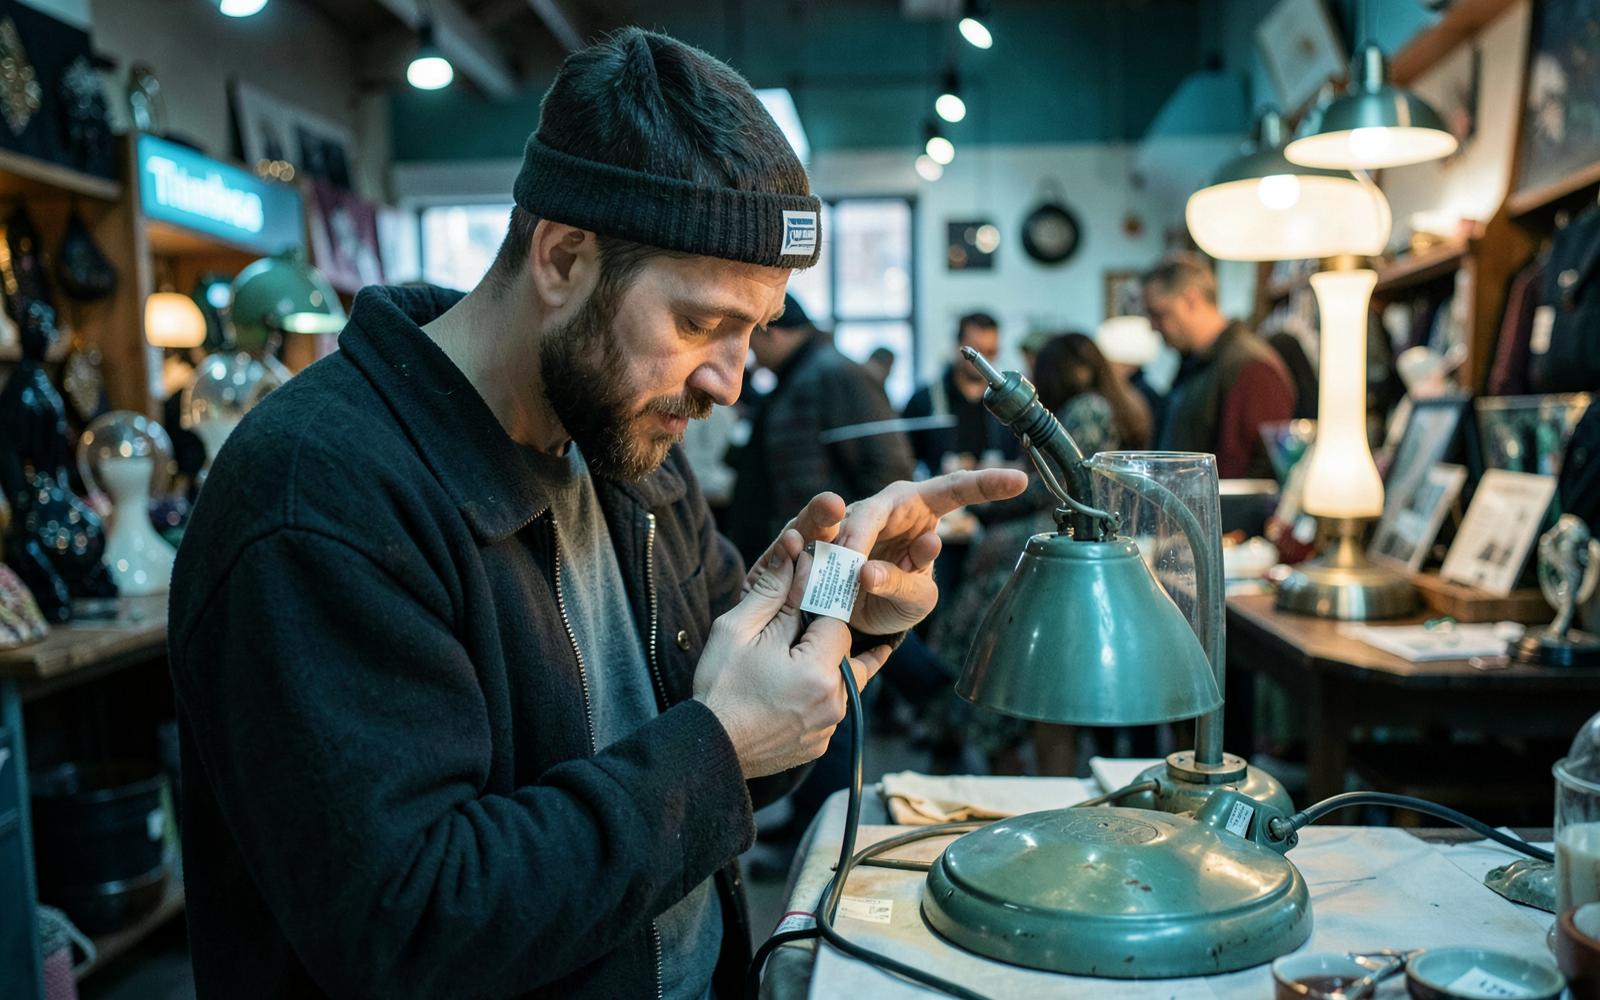
A tight photograph may show texture beautifully while hiding the object's scale, silhouette, and use. Begin with one frame that contains the full subject and a little of its surroundings.
Run the first read on that image. Its job is to build a broad map: likely object type, visible materials, apparent age, condition, and the details worth investigating next.
Observation
Test the read instead of accepting it
Open the aspect that seems most diagnostic, then ask what visible evidence supports the interpretation. A useful answer should point back to shape, fasteners, controls, labels, wear, or construction—not merely repeat a name.
Ask for plausible alternatives. If two candidates remain, ask what photograph would distinguish them. This turns uncertainty into a capture plan.
Observation
Move closer with purpose
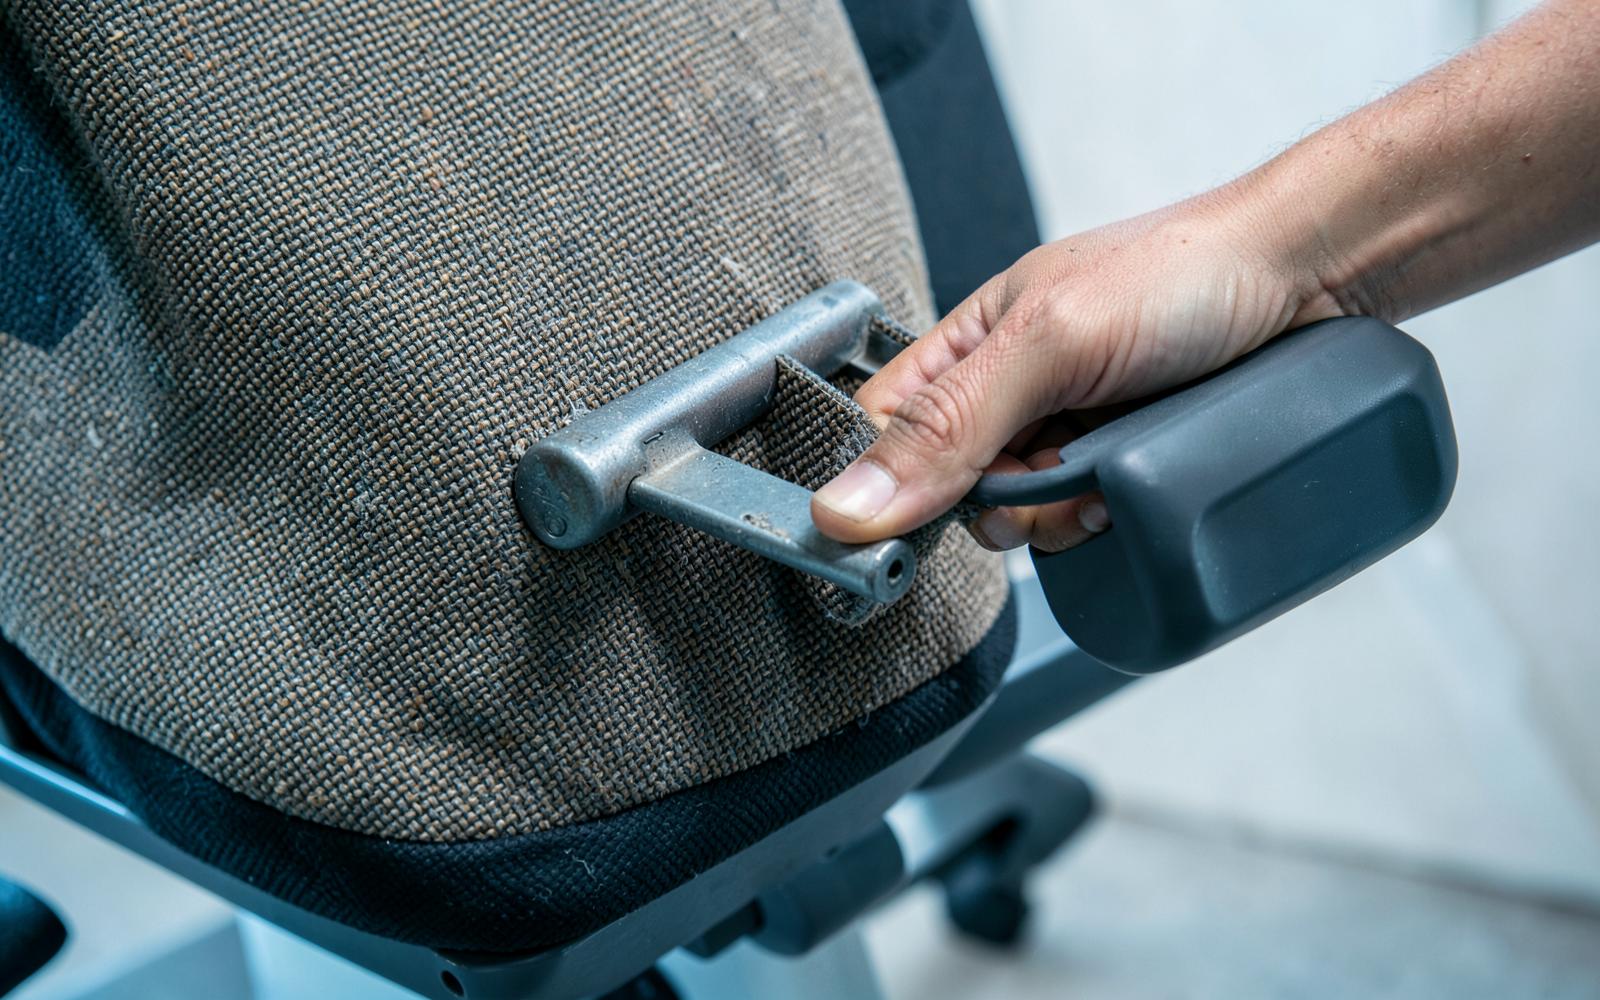
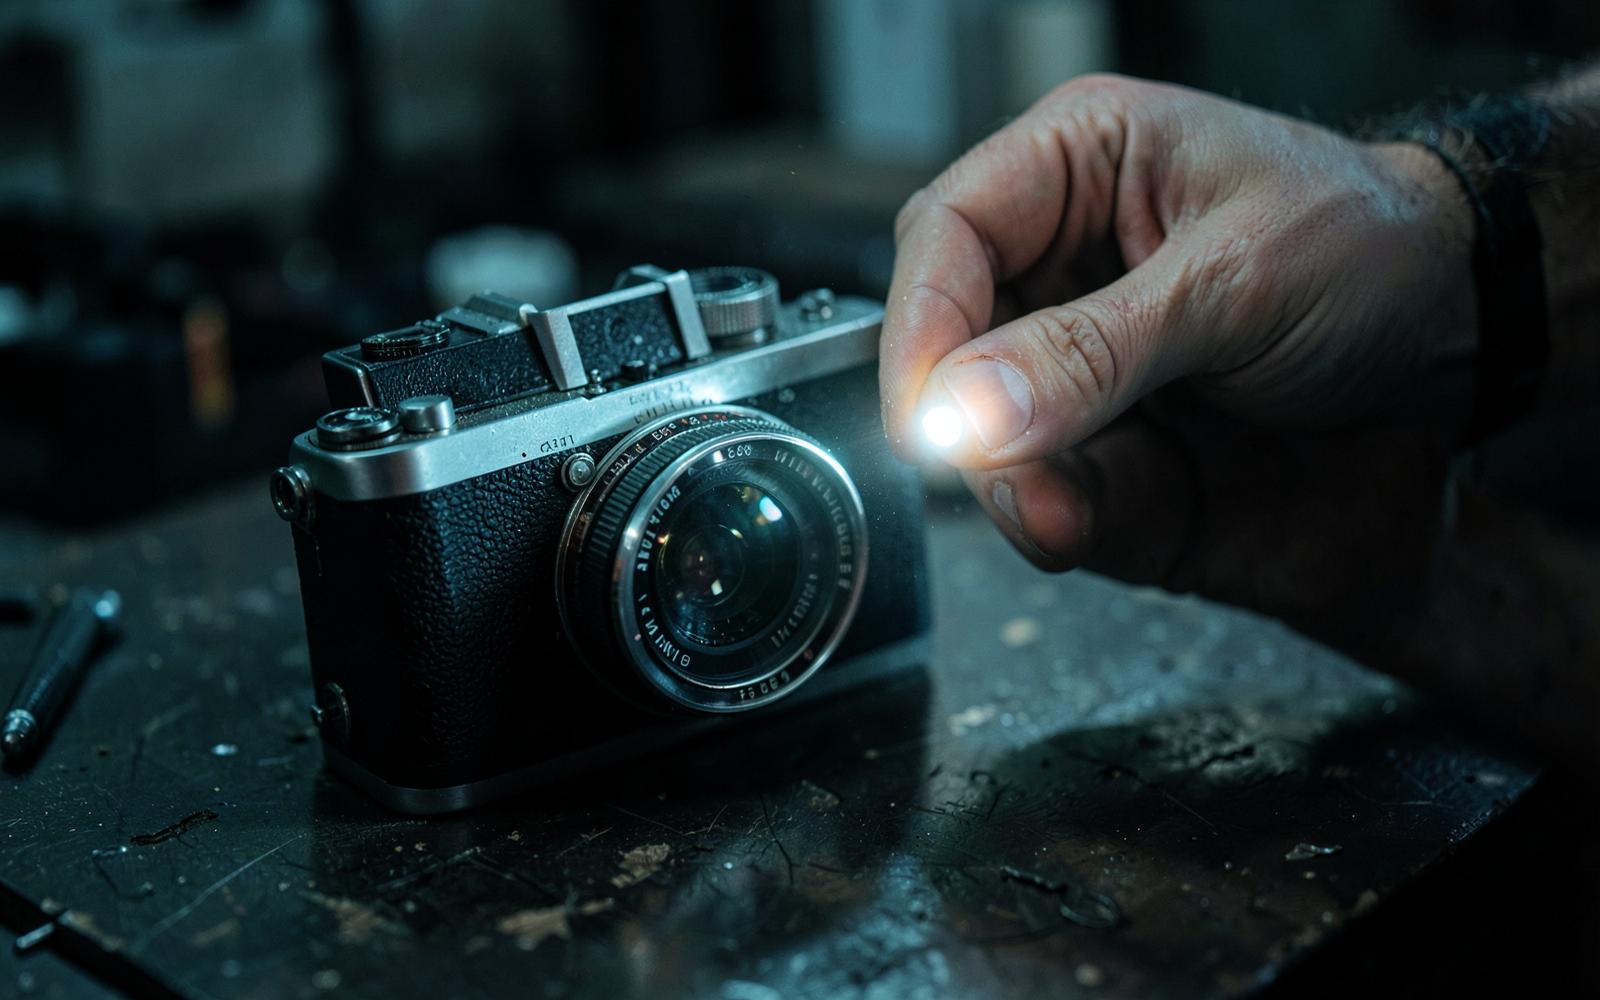
Use point mode for a dial, maker's mark, seam, connector, or unusual edge. Use shade mode when the detail is irregular or sits close to distracting parts.
For antiques, safety-critical equipment, or valuable objects, use the scan to organize questions—not to replace a specialist, provenance record, or hands-on inspection.
What to remember
- Capture the whole object before moving closer.
- Treat the first read as a hypothesis.
- Use markings and construction details to narrow the answer.
Try this scan
Bring the question to your own image.
“What is this, and what visible evidence supports that identification?”Open scanner